Plan a novel from scratch
Estimated time: 60–90 minutes.
By the end, you will have a central premise, principal characters and locations, at least eight events, and a reusable set of relationship, time, and canvas views.
Before you begin
- Complete Your first Project.
- Prepare a one-sentence premise, such as: “When someone wants something, an opposing force makes them pay a price for pursuing it.”
- Choose one consistent time system for the story, using real dates or your own story calendar.
1. Explore the conflict in Mindmap
- In Story, create a Mindmap saved view named
Novel Premise. - Put the one-sentence premise in the central node.
- Add child nodes for the protagonist's goal, opposition, cost, major turns, and possible endings.
- Remove repeated ideas, then arrange the remaining nodes into a parent-child path from premise to turning points.
- Select Create outline and save the result as text you can continue organizing.
2. Create characters, locations, and events
Create at least:
- three character cards: the protagonist, principal opponent, and an important relationship character;
- two location cards: the opening location and the main conflict location; and
- eight event cards: opening, inciting event, first escalation, midpoint, second escalation, crisis, climax, and resolution.
Add dates, participants, locations, Status, and any necessary Parent to the events. Built-in templates are enough for this tutorial; a custom Pro model is not required.
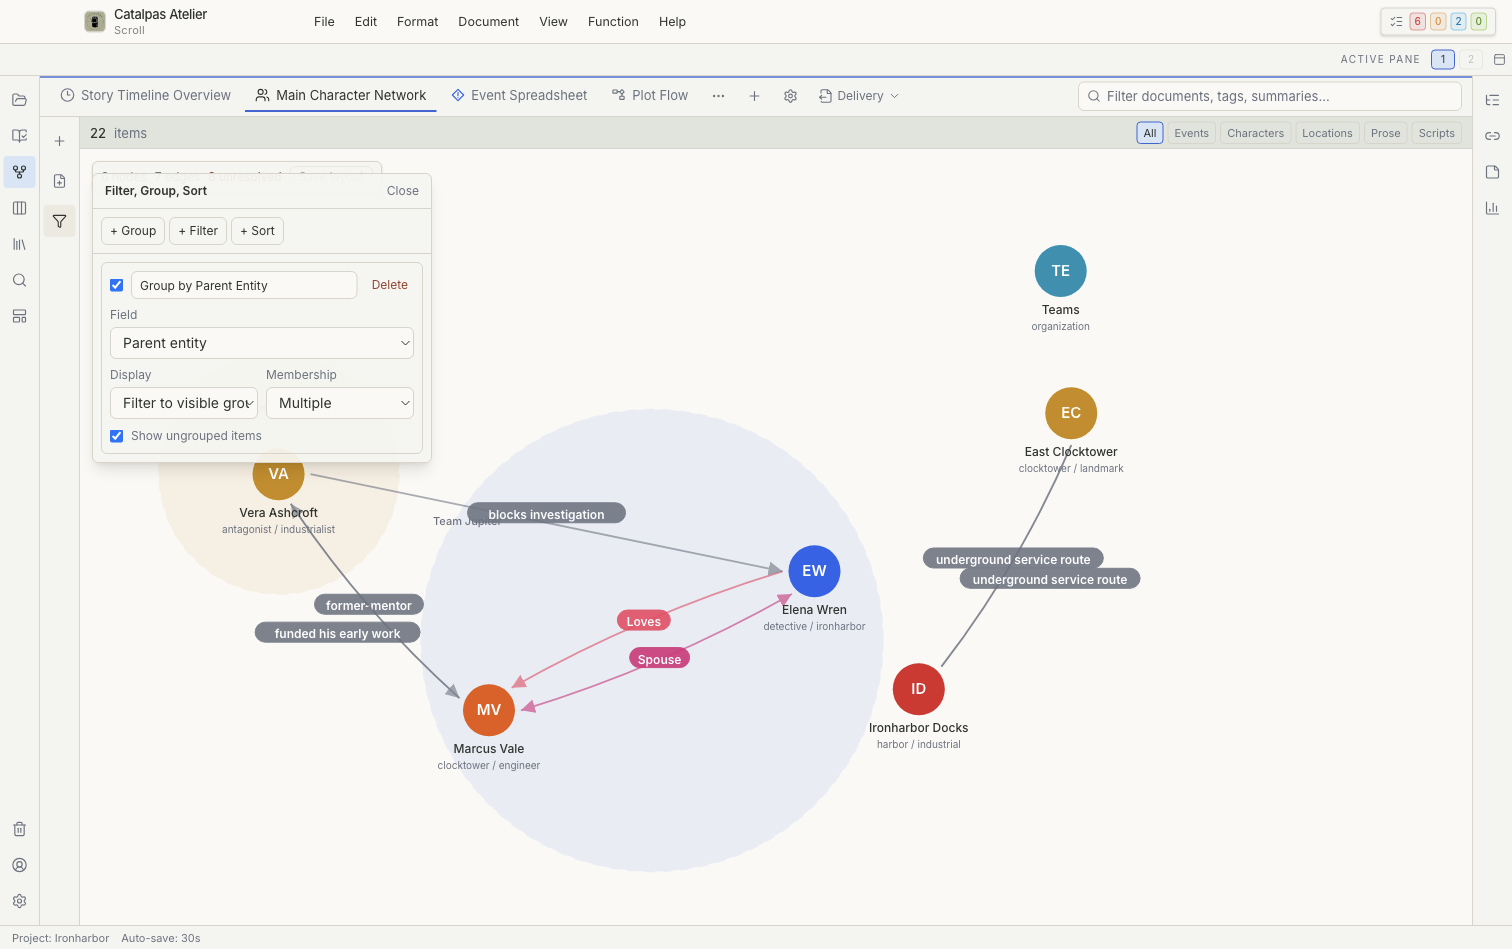
3. Review the character network
- Create a Relationship graph saved view named
Main Character Network. - Filter it to the main characters and organizations.
- Distinguish explicit relationships you created from read-only connections shown through shared events.
- Open each principal character from the graph and add any missing goal, conflict, or relationship.
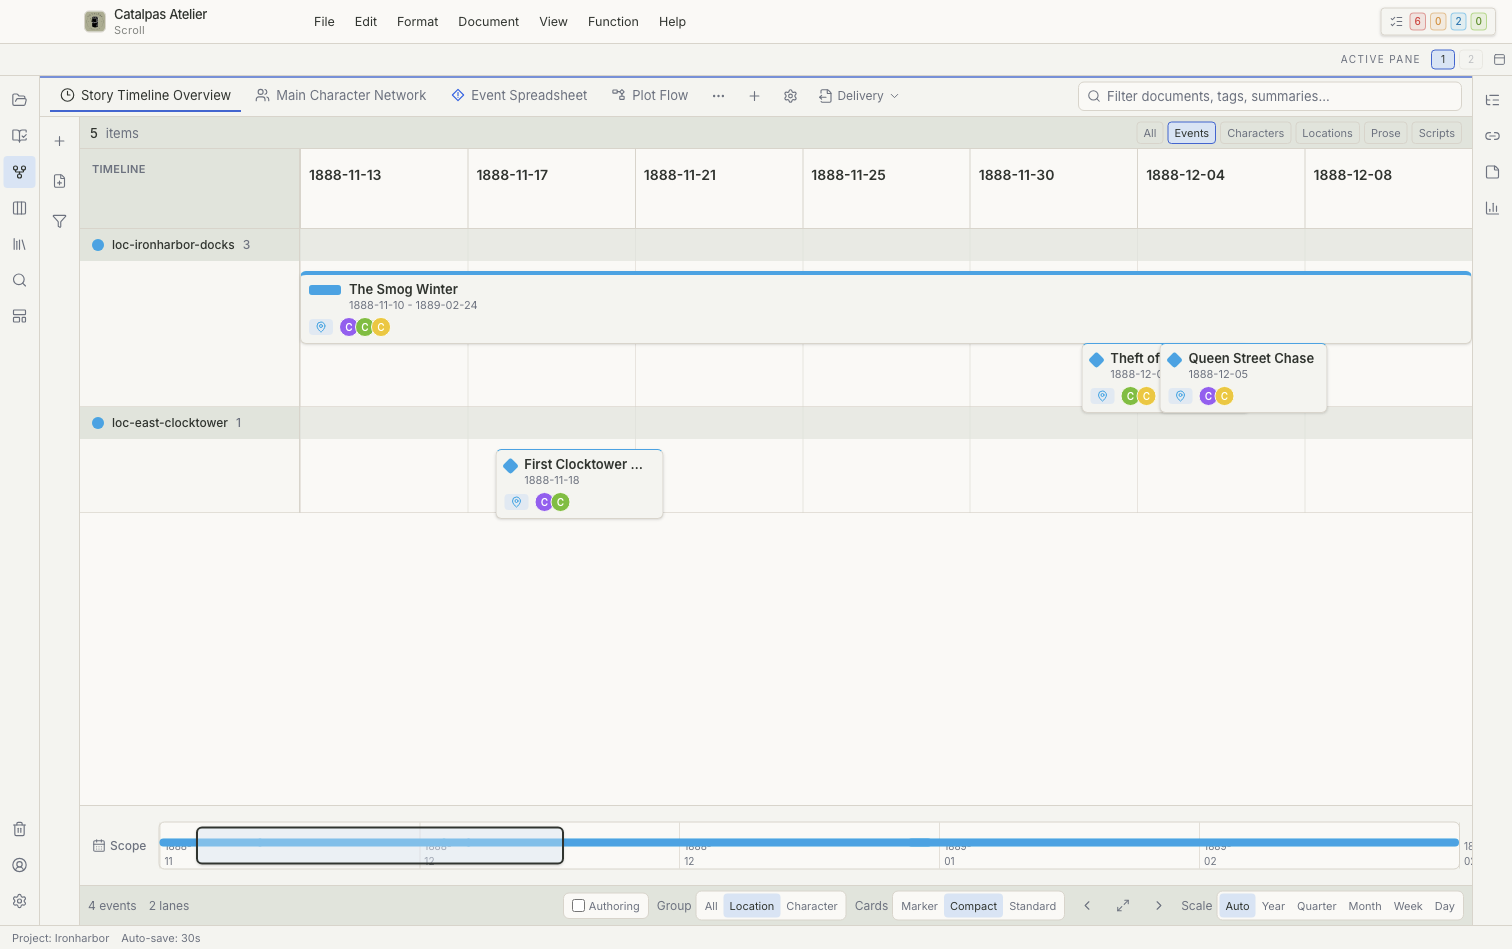
4. Arrange the plot in Timeline and Gantt
- Create a Timeline filtered to events and set its scope to the full story range.
- Group by character or location and look for events that place the same character in two impossible locations.
- Create or duplicate a Gantt view and use Parent to group events under stages such as Act One and Act Two.
- Add start and end dates to events with duration, then review overlaps and gaps between stages.
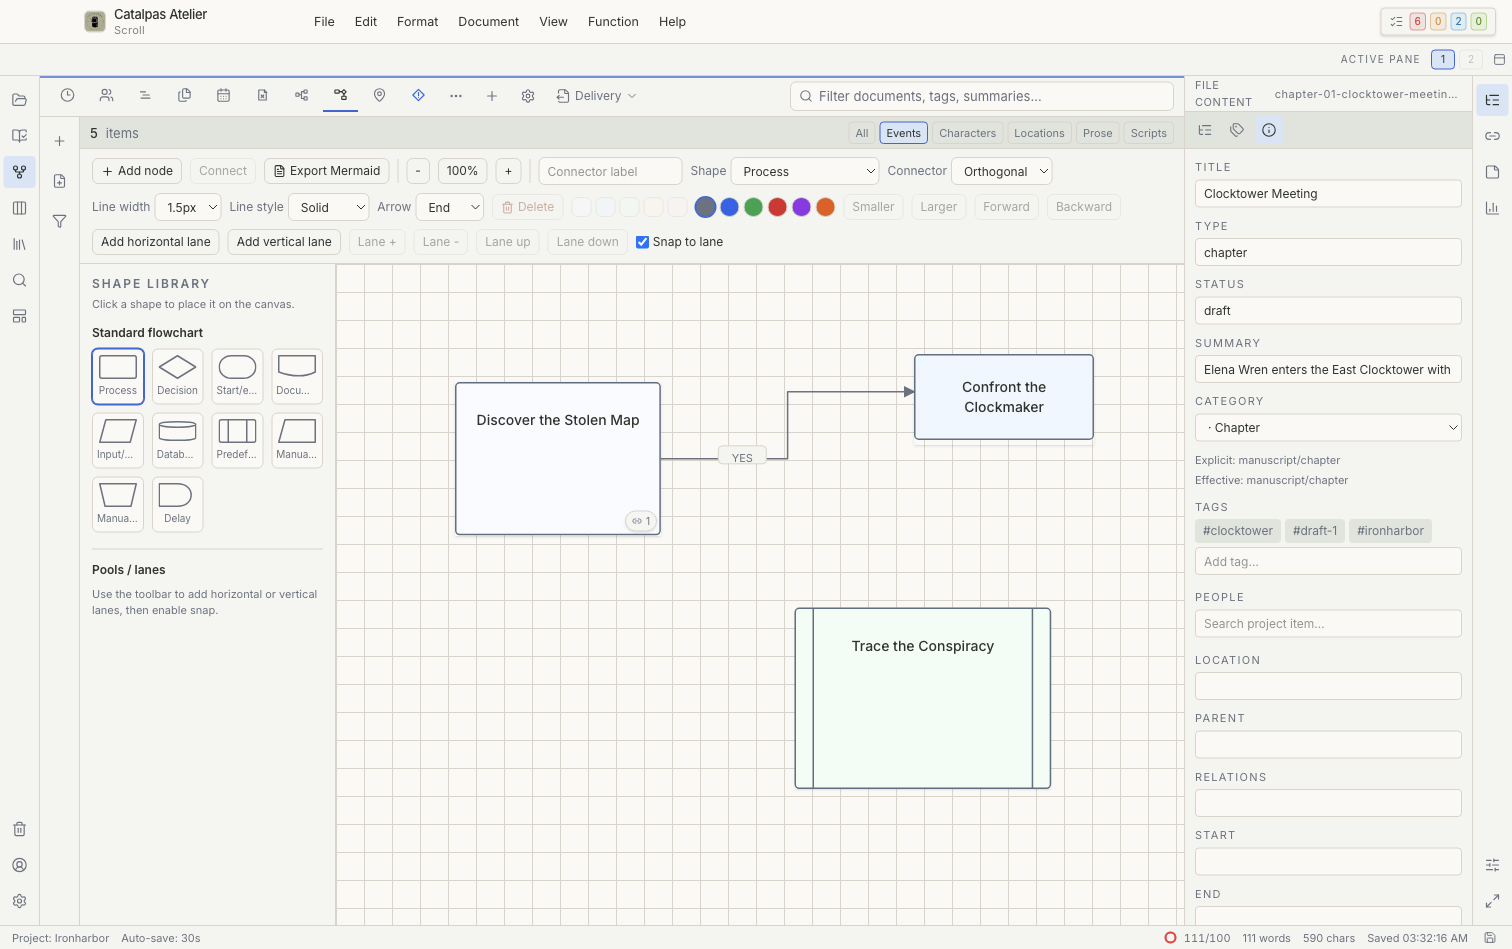
5. Test causality in Flowchart
Draw the most important decisions as action → decision → consequence. Label each branch with a specific condition and link it to an event card you already created. Here, Flowchart is a planning tool; it does not generate a runnable script or execution preview.
6. Save the planning set
Give every saved view a purpose-driven name and save its scope, filters, grouping, and sorting. Close and reopen the Project, then confirm that:
- all eight events open from at least one time view;
- graph relationships match the character cards;
- the Gantt stages have no unintended gaps;
- each important Flowchart consequence links back to an event card; and
- every saved view is still available.
What you learned
You turned an abstract premise into local cards and several views that can be checked independently. Continue with Build a fantasy world or use Manage writing progress to turn the plan into scheduled work.