Editor basics
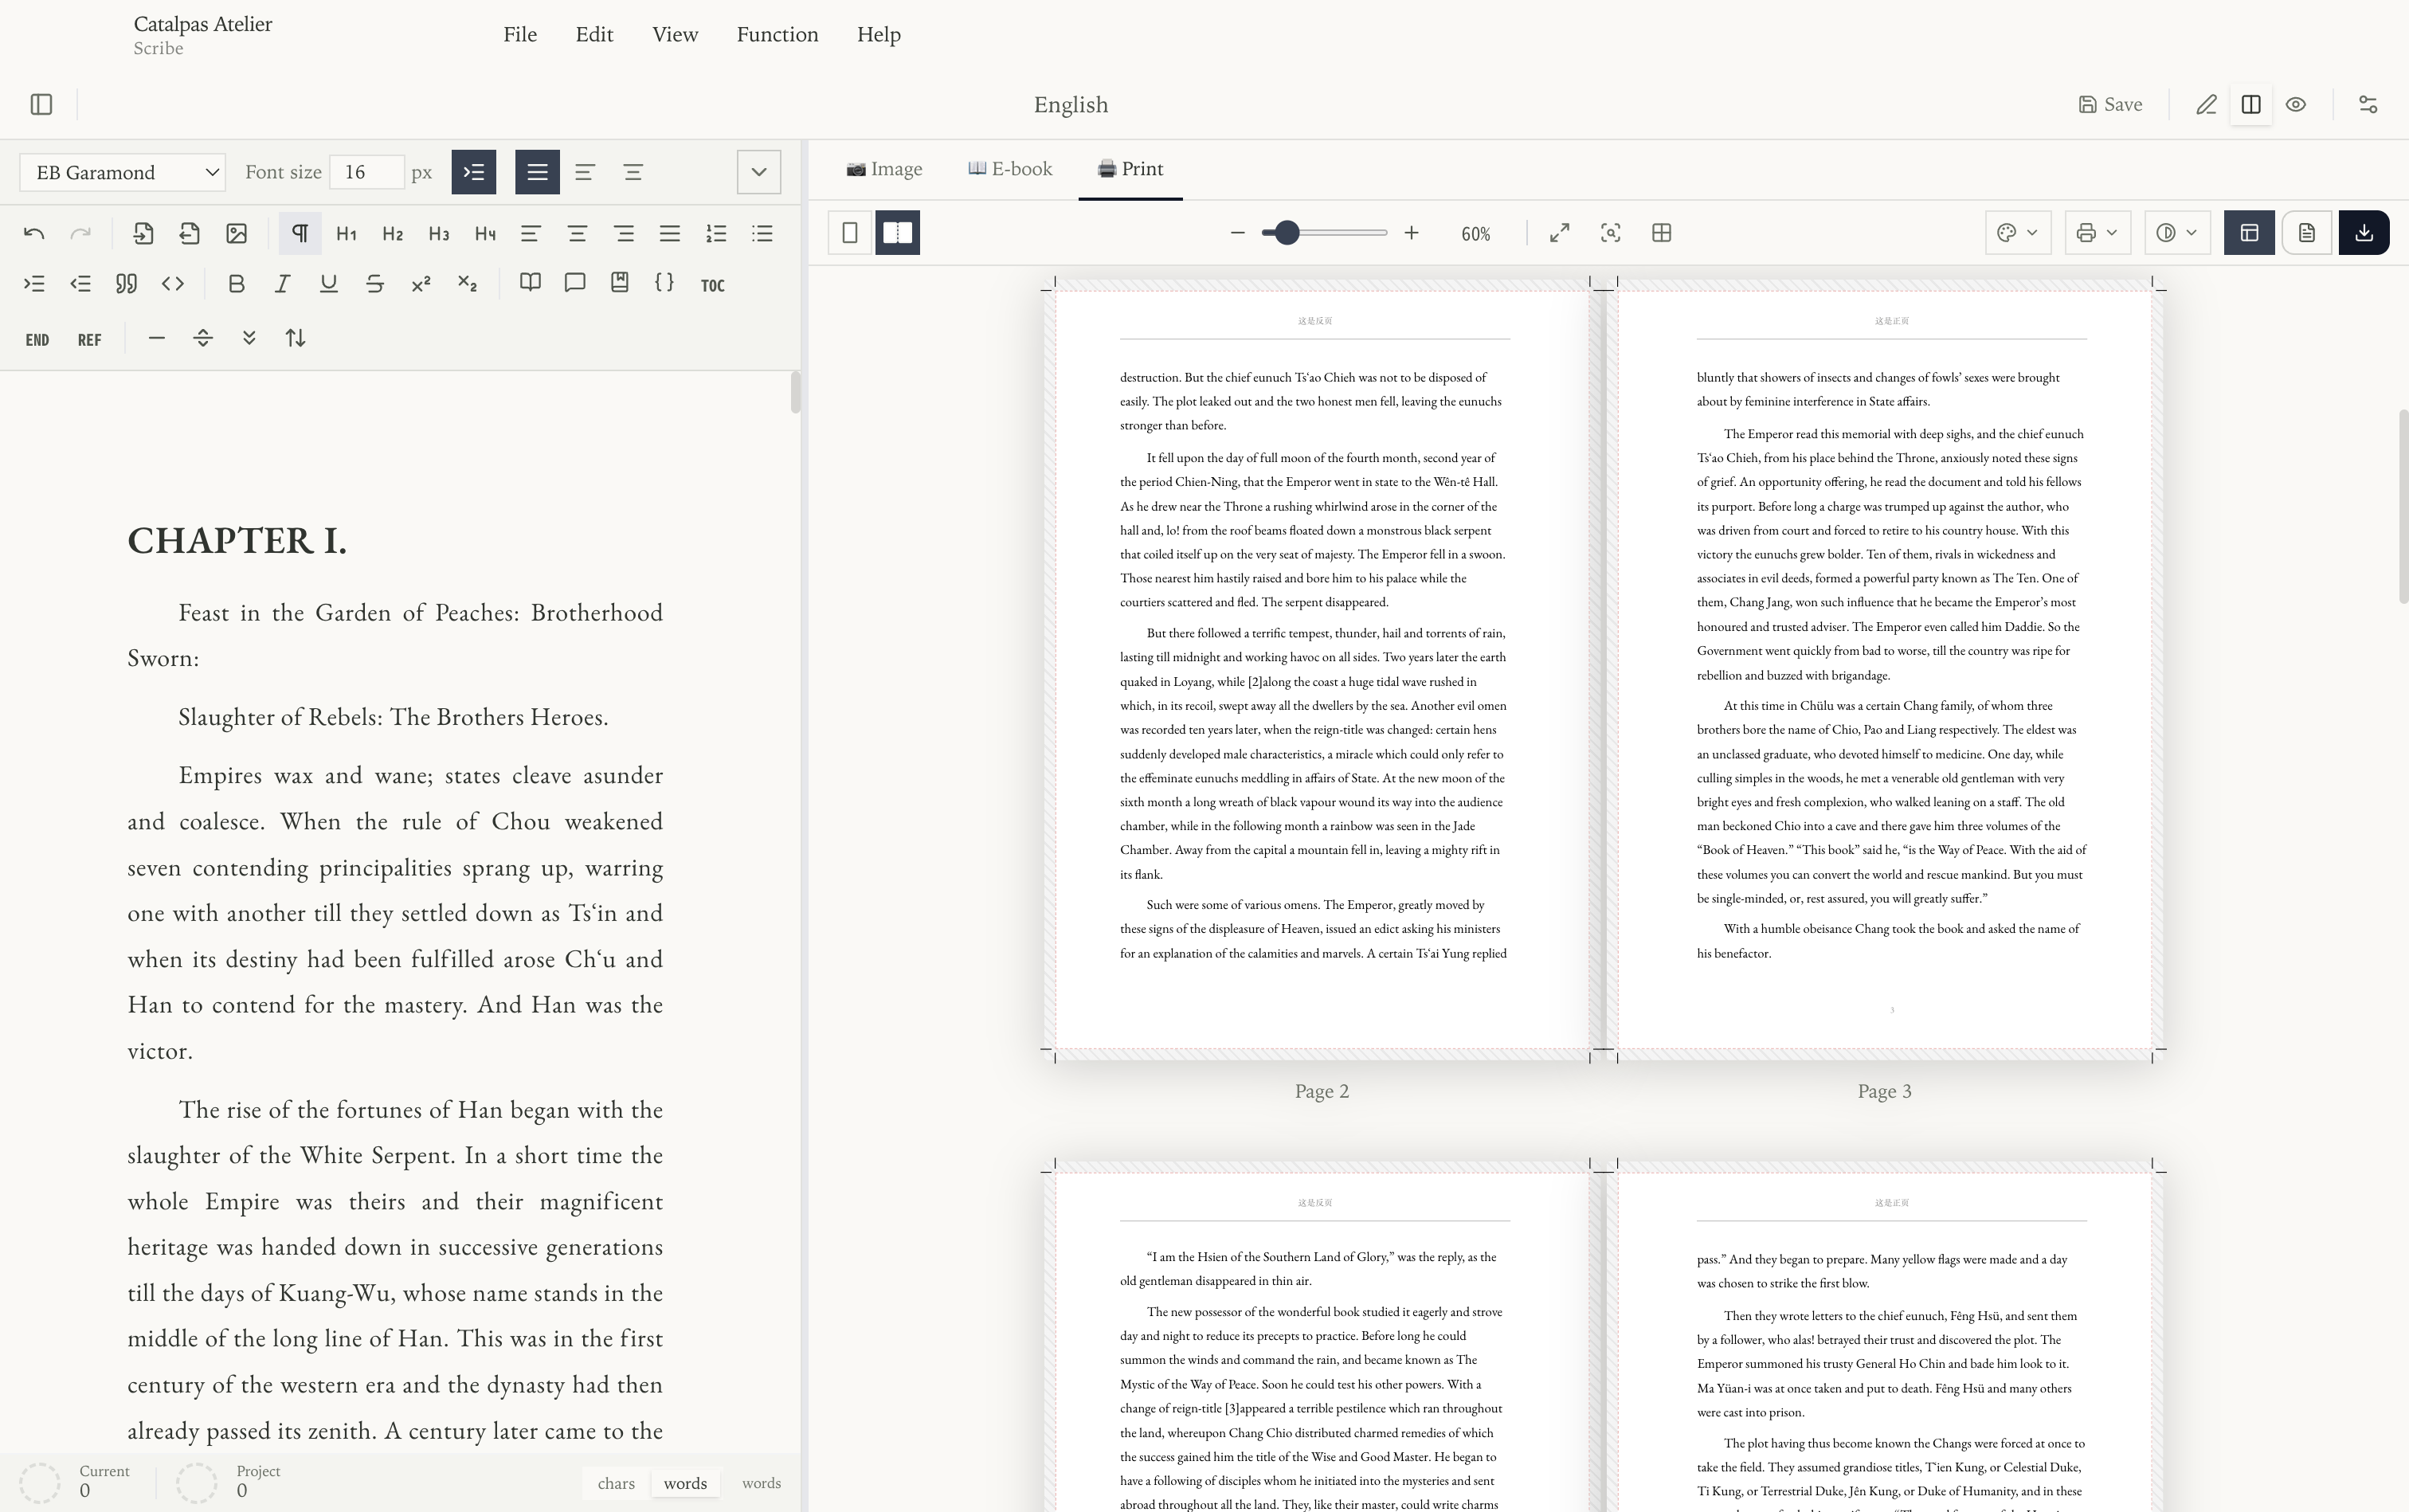
The Scribe window is divided into three vertical panes: the document tree, the editor, and the live preview. You can resize each pane by dragging the divider, or collapse the side panes for a distraction-free writing mode.
The document tree
The leftmost pane shows your project as a tree of folders and documents. Each entry has a display name you choose — not a filename — so you can title chapters however you like.
- Click a document to open it in the editor.
- Drag a document to reorder it, or drag it into a folder to move it.
- Right-click a folder or document for actions that apply to that item, such as renaming or deleting it. Folder menus can also create content below that folder, while document menus include document and template actions.
Use the controls around the document tree and the File menu to create or import content.
The order in the tree is the order in which chapters appear when you export the project as a single EPUB, Word file, or PDF, so arrange your documents in reading order.
The editor
The editor is a rich-text writing surface that understands common Markdown shortcuts. Check final typography and pagination in the corresponding preview.
What you can type
- Type
#,##,###, or####at the start of a line to create a heading. **bold**,*italic*,~~strikethrough~~.>for a blockquote — handy for pull quotes and letter excerpts.[text](https://example.com)for an inline link.
Pasting Markdown text is converted to formatted content automatically. Image insertion is covered on the next page, Images, and the advanced typographic syntax (ruby, LaTeX, shortcodes, references) is documented under Advanced.
Word count
A live word count appears in the status bar at the bottom of the window.
Keyboard shortcuts
These are the default bindings. You can change any of them under Function → Keyboard Shortcuts….
| Action | Windows / Linux | macOS |
|---|---|---|
| New project | Ctrl + N | ⌘N |
| Open project | Ctrl + O | ⌘O |
| Save | Ctrl + S | ⌘S |
| Save all | Ctrl + Shift + S | ⌘⇧S |
| Undo | Ctrl + Z | ⌘Z |
| Redo | Ctrl + Shift + Z | ⌘⇧Z |
| Select all | Ctrl + A | ⌘A |
| Find & replace | Ctrl + F | ⌘F |
| Editor only | Ctrl + 1 | ⌘1 |
| Editor + preview | Ctrl + 2 | ⌘2 |
| Preview only | Ctrl + 3 | ⌘3 |
| Toggle left sidebar | Ctrl + - | ⌘- |
| Toggle right sidebar | Ctrl + = | ⌘= |
Autosave and backups
Turn on Auto Save under Function → Global Settings and Scribe
saves your work on a regular interval; you can also save at any time
with Ctrl/⌘ + S. To keep a portable backup of an entire project, use
File → Export Project…, which writes a single ZIP archive you can
re-import later with File → Import Project….